Dancers use their ankles— A LOT. While this might mean we can rock heels with a little more ease than your average gal, it also means that we are prone to overuse-injuries like ankle sprains and strains. The repetitive movements that we do in classes like jumping, turning, and quick transfers of weight, can put a lot of pressure on the ankles—especially if they are not properly strengthened.
You can prevent for and ankle injuries by improving your ankle stability and range of motion. One way to do that is through ankle strengthening exercises outside of dance class. If you’ve had even one ankle sprain in the past, you are more susceptible to injury in the future. This is because the ligaments in your ankle can become lax after injury. So even after recovery, it’s important to keep up with proper technique and conditioning to support weakened or often used areas of the body.
Everything in our body is connected, so the best injury prevention strategy includes strengthening your body as a whole. Instability in the hips can lead to instability in the ankles; problems in our hips can be directly related to spinal issues. Following that chain, without proper maintenance, an issue in your neck or calf muscles can eventually become an issue in your ankles and feet!
However, there is no harm in localized strengthening exercises, and much to be gained. If you find yourself dancing often in heels, en pointe, or bare foot, it will add to your range of motion in those styles to work on strengthening the muscles that bring stability to the ankle.
Try these exercises from Sugarfoot Therapy to strengthen and stabilize your ankles at your own pace. The ability to do them from the comfort of the home can help prevent you from having to do similar exercises as a form of physical therapy or rehabilitation later on (as in, in response to an injury). After all, the most important time to treat an ankle injury is before it even happens!
Equipment needed: a resistance band and a yoga mat.
Engaging the Arch in the Foot
Exercise 1
This exercise is a series of small steps in a squat position. As you step, your body learns to prioritize ankle stability in weight transfers and weight-bearing movements.
- Tie the band in a knot to form a circle, then loop it around your right heel so that the band is cupping the heel
- Take the outside section of the band and hook it underneath your big toe on the right. You should be holding the band in between your feet now, with it secured on your right foot by your ankle and toe.
- Twist the two sections of the band that are between your foot. Looking down, you should see an X.
- Now you can repeat the process on the left side with the left half of the infinity loop you have just created.
- Step the left heel into the band, and hook the outside part of the band underneath the big toe.
- Standing with your feet hip width apart, you will feel the band (now in a crossed position) pulling your feet together. Your job is to resist that tension by anchoring your feet into the ground.
- Squat and reach your tailbone back while pulling the abdominal muscles in and begin to take little side steps to the right. Keep your weight in your heel, but don’t rock back onto them completely. Spreading your toes wide will help with this!
Do 10 steps to each side.
Exercise 2
This exercise works to strengthen and stabilize your relevés.
- Start with the band in the same position.
- Then slowly raise your heels up and down, resisting the band and engaging your leg muscles throughout.
- Repeat this 10 times.
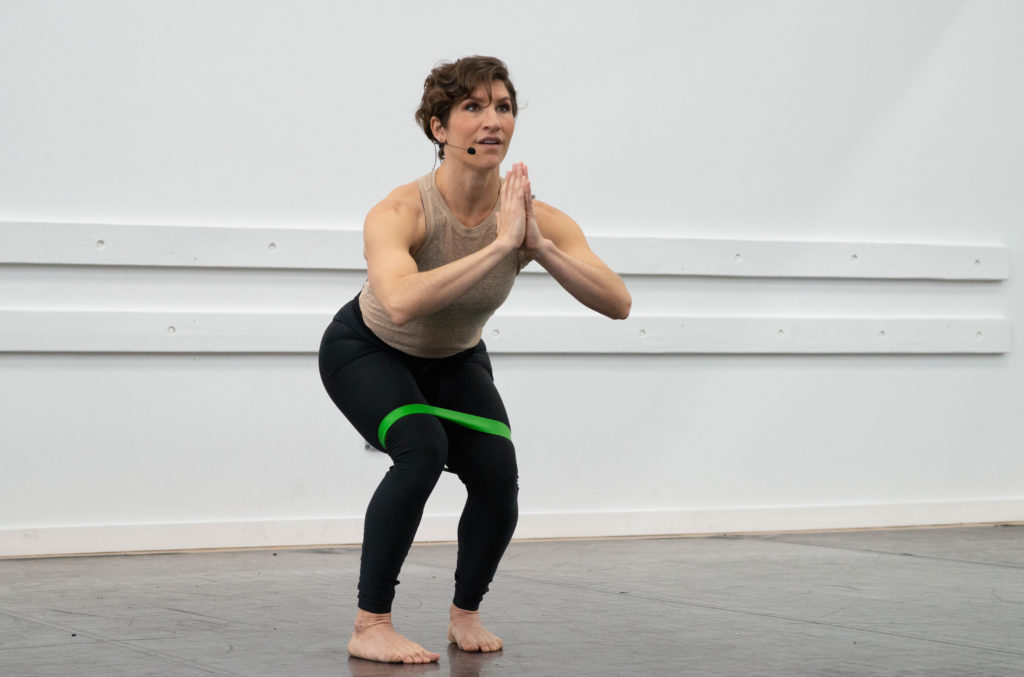
Exercise 3
For this exercise, you will want a stronger resistances band. You can also loop your band twice to increase resistance.
Familiar with the clamshell exercise? You’ll be doing exactly that, with a band around your thighs, but instead of laying on one side, you will be standing.
- Starting with the feet hip distance apart
- Keep both your feet pressing into the floor as you slowly bring your right knee in towards the center— you don’t have to touch knees, just close your thighs until you feel your internal rotation working and the band feeling looser.
- Then slowly open your legs, feeling the resistance and the glutes engaging.
The goal is to keep each foot firmly on the ground and to pull up through your arches throughout the exercise. Repeat 10 times each side.
For an extra challenge, repeat on forced arch.
Moving Dynamically With Stability
Now that you’ve activated these muscles, call on them to fire and support your ankle joints while moving dynamically.
Exercise 4
When done properly, lunges engage almost every muscle group in the lower body, especially your powerhouses as a dancer: the quads, the glutes, and the hamstrings.
Do five lunges in each position (front, back, side) to work on finding stabilization from your ankles through your hip. A tip: just like in partnering, dead weight is harder to move around! For an easier time in your lunges, engage your core and keep your shoulders square, so that the legs can focus on proper alignment and use of strength.
For an extra challenge, repeat this set lunging onto a forced arch instead of a flat foot. This is super helpful for heels work!
Exercise 5
Using a folded yoga mat or gymnastics mat to create a somewhat uneven surface, stand on one foot on top of the folded mat and move the ankle laterally. Laterally means side to side, so roll towards the arch and then pull up through the arch until you are pushing on the outside edge of your foot. Repeat six times on each side.
Exercise 6
Finish strong with some ankle circles, no equipment needed. Do a full clockwise rotation 6 times on each ankle, being generous with your range of motion. Notice how your ankles feel after these exercises, noting any increased range of movement, any discomfort and any feelings of soreness.
A tip: Finish with a personal foot to calf massage to really show your ankles some love!
You can watch more conditioning and dance classes in our on-demand library. If you have already hit your relevé quota for the day, you can browse the rest of their videos for conditioning exercises for other parts of the body as well. head to clistudios.com for a 7-Day Free trial!